
MapSlicer Quickstart
MapSlicer provides a simple way of creating a set of tiles from any georeferenced map image. The tiles can then be presented as a georeferenced map overlay on a web server. It follows the Open Source Geospatial Foundation’s (OSGeo’s) Tile Map Service (TMS) specification.
- Input options: Any georeferenced image file, eg. a TIFF, JPEG from ArcGIS, QGIS.
- Output options: A set of directories with tiled images which can be copied to a web server for presentation as a georeferenced overlay.
- Strengths: MapSlicer is simple, free, open-source software, with an easy wizard, described below, to guide through the options.
MapSlicer takes advantage of the fact that Google Maps , Microsoft Bing , Yahoo Maps , and other online mapping providers including OpenStreetMap use the same projection and tiling profile and the tiles are therefore compatible. MapSlicer prepares tiles using this specification as an easy and quick way of preparing a georeferenced map in a mashup web page.
Start MapSlicer
- Start MapSlicer from the Geospatial menu, under the Spatial Tools sub-menu.
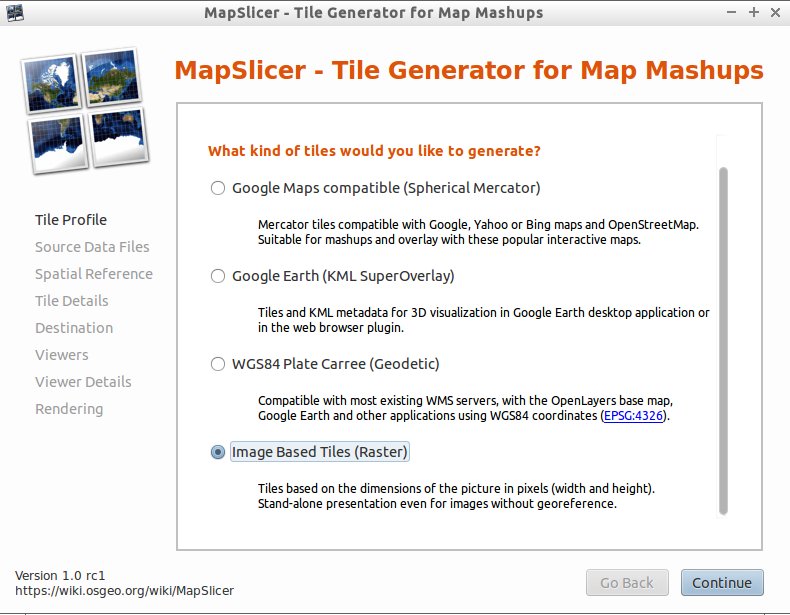
- Select the Tile Profile. Choose Image Based Tiles (raster) for standard web publishing. Click Continue.
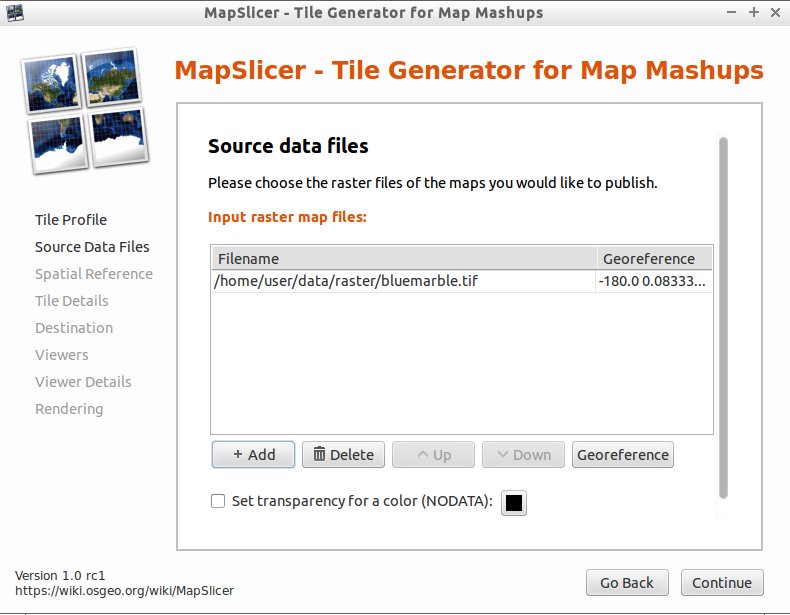
- Choose the Source Data Files. Browse to select the raster image you want to tile. It is also possible to select a NODATA colour that will appear as transparent in the resulting image. Click Continue.
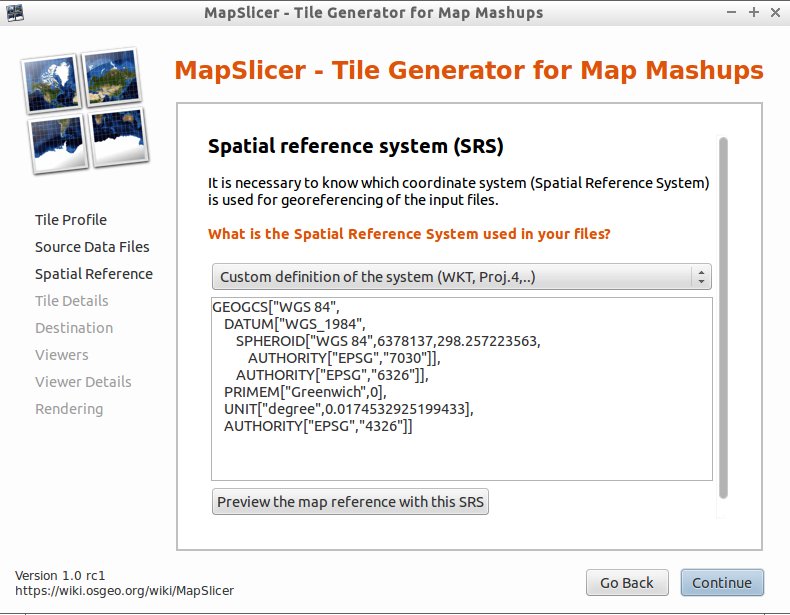
- Specify the Spatial Reference System / Coordinate System of the image. Specify the id-number from the EPSG database. Click Continue.
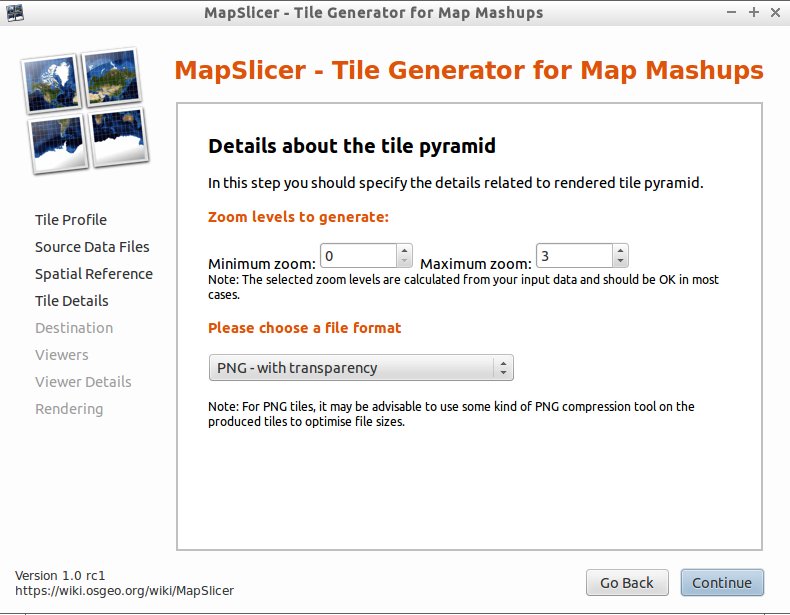
- Specify details about the Tile Pyramid. The default settings for zoom levels and file format are often best. Click Continue.
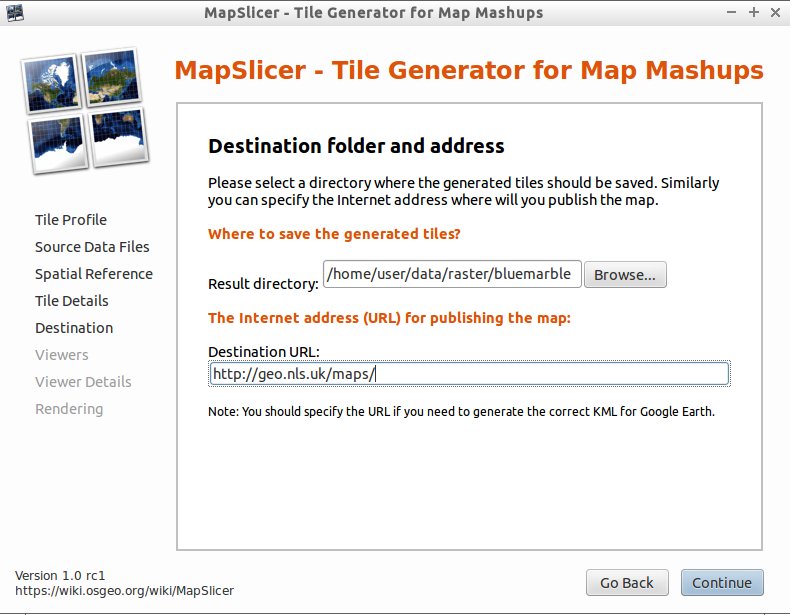
- Specify details about the Destination folder and Addresses / URLs for the tileset. If you do not know these, they can be added into the default googlemaps.html and openlayers.html files after tile generation. Click Continue.
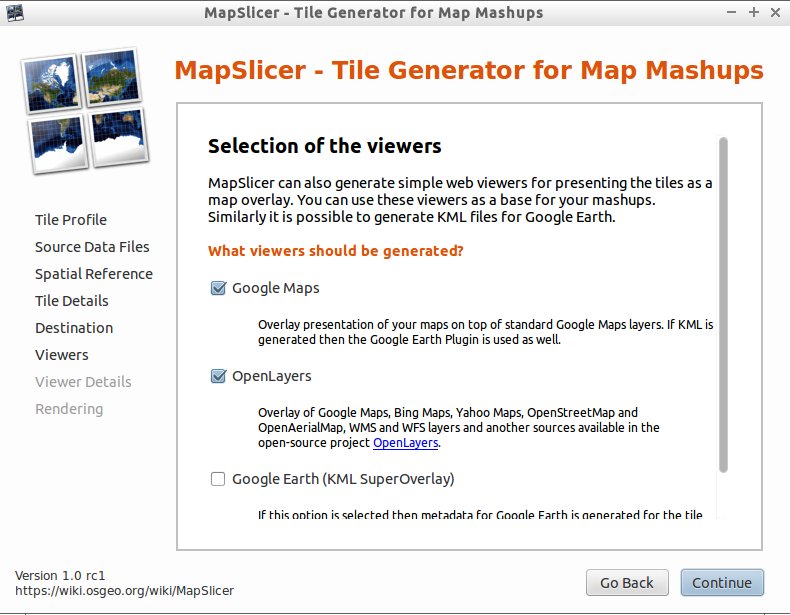
- Tick the Viewers that should be generated. By default, a openlayers.html file is generated. Click Continue.
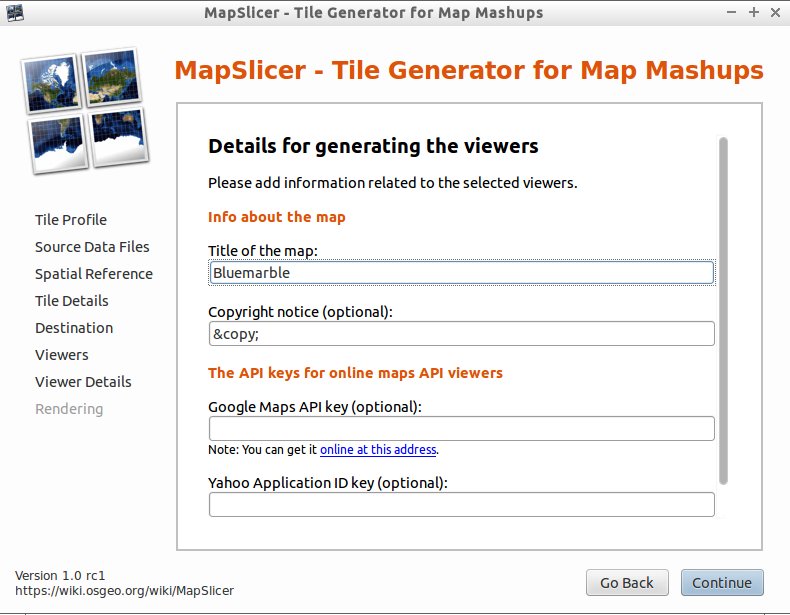
- Specify the Details for generating the Viewers, such as the title, copyright notice, and API keys. If you do not know these, they can be added into the default googlemaps.html / openlayers.html files after tile generation. Click Continue.
- Click Render to start rendering the image.
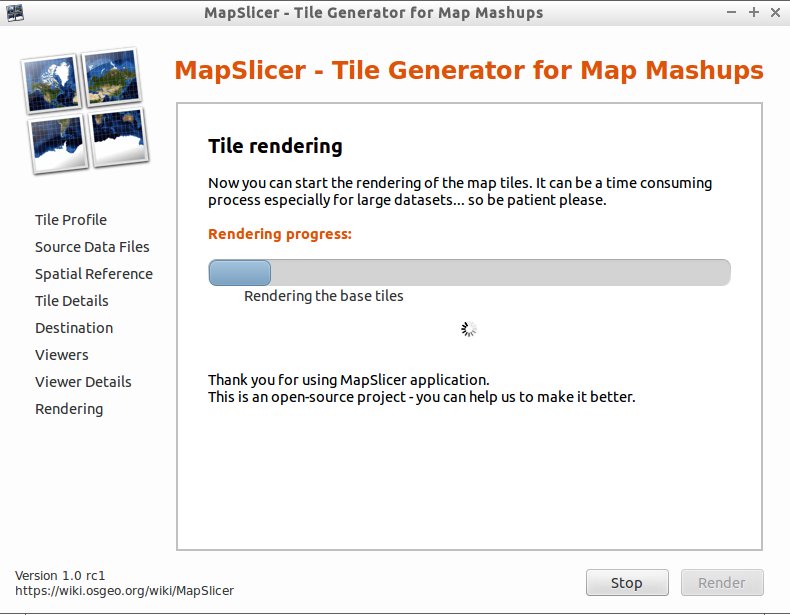
- When complete, MapSlicer provides a link to the finished tileset.
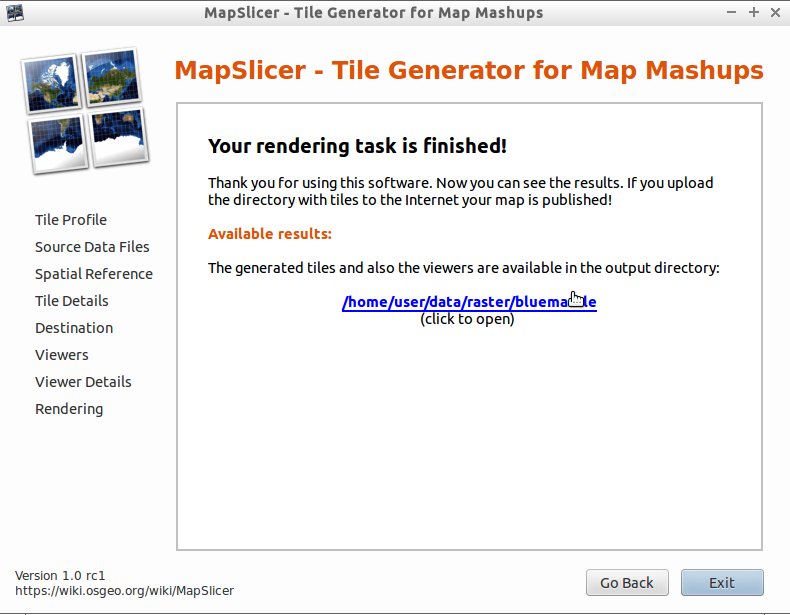
- Open the openlayers.html files in a web browser to view the tileset as an overlay on the live online map. To present this on the web, just copy the entire tileset and all subdirectories to a web server, and edit the googlemaps.html or openlayers.html files as required.

Using gdal2tiles to create a MBTiles database
MapSlicer is essentially a GUI frontend to the gdal2tiles.py script. An updated version of gdal2tiles.py is also present on the Live disc. The resulting tile trees created by these software can be used with the mb-util program to create an mbtiles database, for use with smartphone software like Geopaparazzi.
To create an MBTiles SQLite database from the newly created tile tree, open a terminal, then
cp data/raster/bluemarble.tif .
mapslicer    # (select /home/user/bluemarble.tif for input, JPEG as format)
mb-util --scheme=tms --image_format=jpg bluemarble bluemarble.mbtiles
qgis bluemarble.mbtiles
See gdal2tiles.py –help and mb-util –help for additional information on running these tools.