
TinyOWS Quickstart
TinyOWS is a high performance, Transactional Web Feature Service (WFS-T) which is light weight and easy to deploy, using a CGI or FastCGI interface and using PostGIS for data storage.
This Quick Start describes how to:
- display a WFS layer in QGIS
- edit a WFS layer using WFS-T in QGIS
Display a WFS layer with QGIS
- Click .
- Click .
- We display the original PostGIS layer first
- Press New.
- Fill in pgrouting as Connection name and Database
- Press OK.
- Press Connect.
- Select ways in the table list
- Press Add.
- Zoom in
- Select
- Enable the WFS Layer plugin.
- Click .
- Now we add a WFS layer based on the same table
- Press New.
- Fill in tinyows as name http://localhost/cgi-bin/tinyows as URL
- Press OK.
- Press Connect.
- Select ows:ways in the layer list
- Check Only request features overlapping the current view extent.
- Press OK.
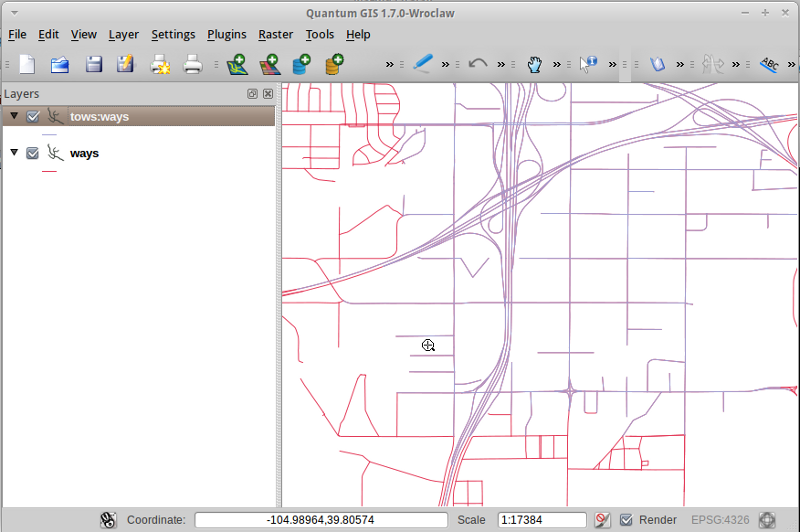
- WFS layer is now displayed:
Edit data with WFS-T
- Click .
- Click .
- Move a vertex (cross) to another position
- Click .
- Hide layer unchecking tows:ways in the layer list
- You should see the edited way in an other color, coming directly from PostGIS.
What Next?
To learn more about TinyOWS, a starting point is the TinyOWS Documentation on the MapServer homepage.
