MapGuide Quick Start
This guide describes how to:
- Getting MapGuide Up and Running
- Stylization of spatial data using Maestro
- Extra note on 64-bit Ubuntu
MapGuide Maestro
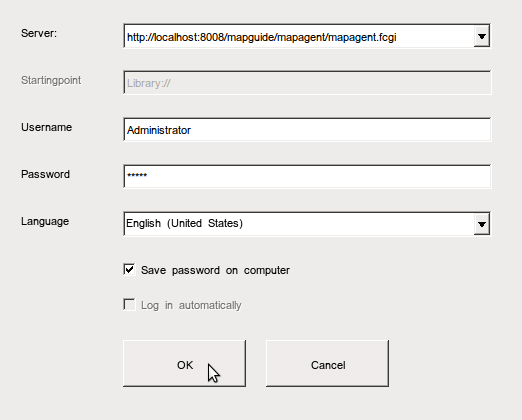
- To start Maestro, go to Desktop->Server, click icon MapGuide Maestro, this will open Maestro login GUI, as shown in following screenshot. Login to http://localhost:8008/mapguide/mapagent/mapagent.fcgi with username “Administrator” and password “admin”
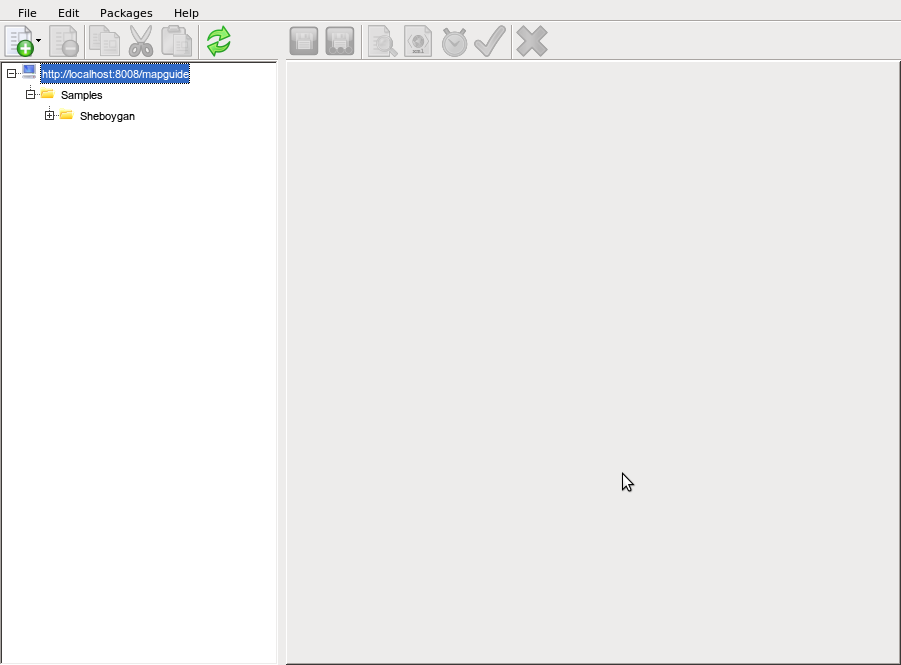
- Click Ok to go to Maestro main GUI, as shown in following screenshot.
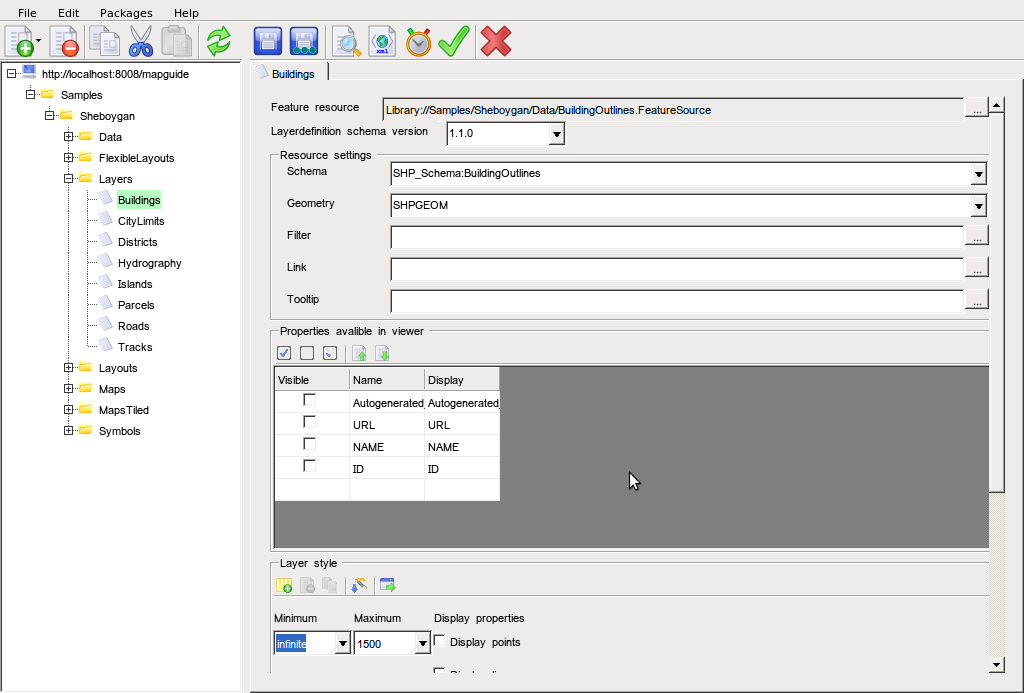
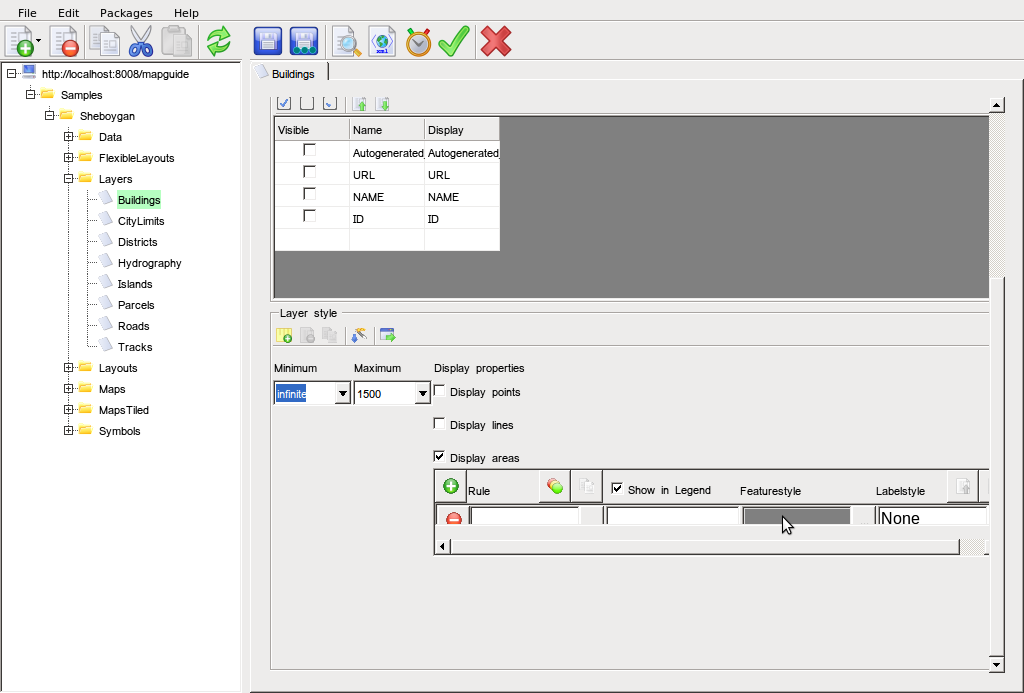
- Expand tree view on left panel, go to Samples->Sheboygan->Layers, double click Buildings, the layer editor for Buildings will open in the right panel, as shown in the following screenshot:
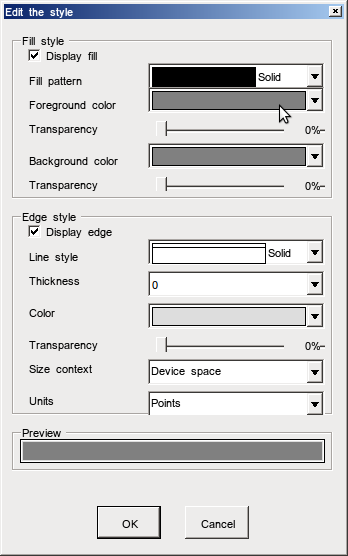
- Scroll down the right panel to show the Layer Style. On the Featurestyle column, click the ... cell to bring up the Style Editor, as shown in the following screenshot:
- in Foreground Color dropdown list, select Green, click Ok to close Style Editor. In Maestro Main GUI, click the Disk icon to save.
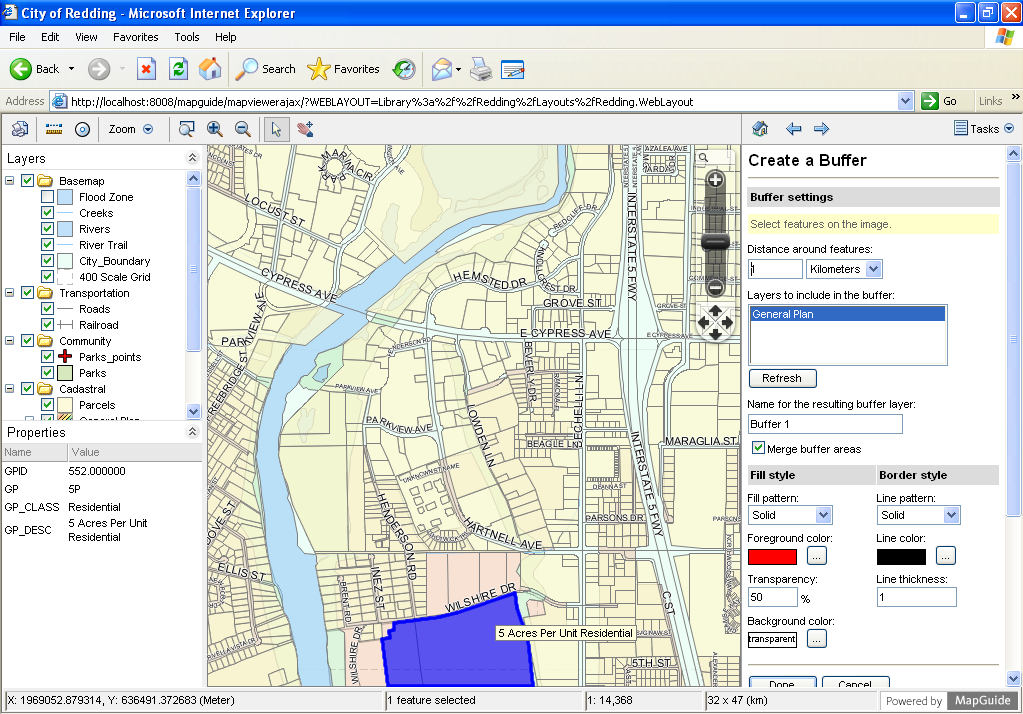
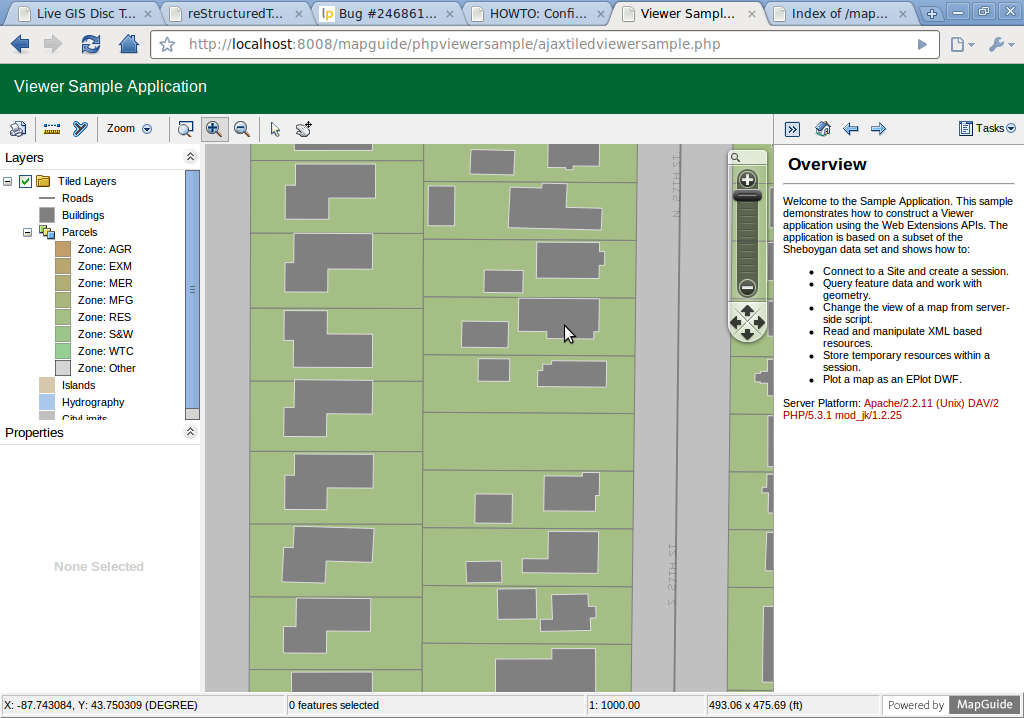
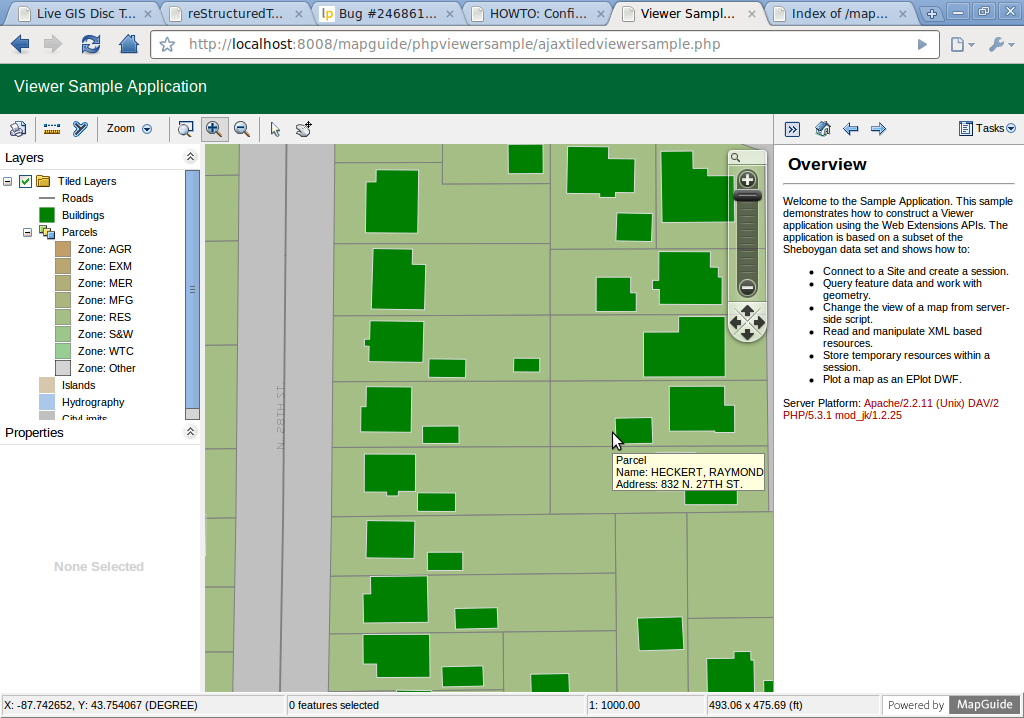
- to preview the change, open a browser to address http://localhost:8008/mapguide/phpviewersample/ajaxtiledviewersample.php or click the Preview icon in the tool bar from Maestro main GUI), which will open a browser to the above address. In the browser map view, Zoom in to building level, the building color now is Green.

