
OSGeo-Live Quickstart for Running in a Virtual Machine
This Quick Start describes one way to run OSGeo-Live within a VirtualBox virtual machine. For other methods, follow links from the “See Also” section below.
Virtual Machine Advantages
- Response speed of a VM is much faster than on the DVD, and typically comparable with installing directly on the host machine.
- All configuration changes, software updates, and saved files are permanent, just like on any “regular” computer. So
- You can customize and update the system
- You can save your work within the VM
- You can install additional software
- You can backup your virtual machine installation.
System Requirements
- RAM: 2 GB at least. The Lubuntu system runs well with 1 GB of RAM, and you’ll need to keep at least the same amount of memory for your host system. So a total of 2 GB will be needed for smooth operation. Some applications, like geoserver, needs that the virtual machine has at least 2GB of RAM. So if possible, consider providing 2 GB or more for your virtual machine.
- Spare Hard Disk Space: The virtual disk file (vmdk) from: live.osgeo.org unzips to almost 10 GB. And you’ll want more space to allow some room to work on the virtual machine. So 20 GB is a good recommendation.
- CPU: Any CPU will do, but a processor which supports “Virtualization Technology” will be faster. You can check your computer CPU here.
Most machines produced in the last 4-5 years will meet these requirements.
Howto
Downloads
Download Virtual Box for your platform, and install the software. On windows run the installer, or on Ubuntu-like linux systems do the following:
apt-get install virtualbox-ose
In addition download the OSGeo Virtual disk file (vmdk) from live.osgeo.org . Click on the “Download virtual machine” button. Then unzip the downloaded file (using 7zip ).
Create a Virtual Machine
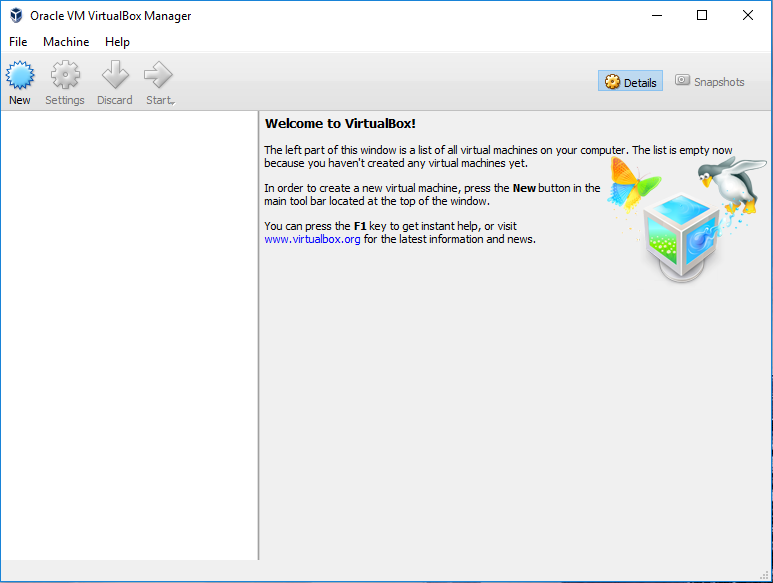
Start the VirtualBox application and click on the New button to create a new VM, and then Next.
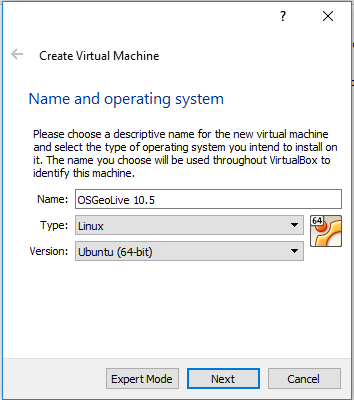
Enter a name such as OSGeo-Live, and choose Linux as the “Operating system”, and Ubuntu as the “Version”.
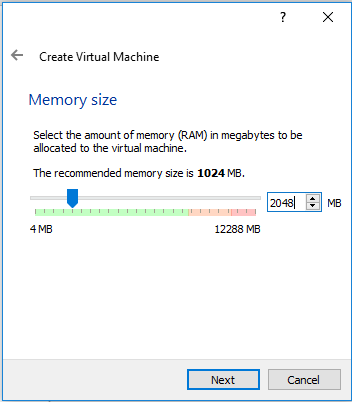
In the next screen set the memory to 1024 MB (or more if your host computer has more than 4GB, like on the screenshot).
Continue to the next screen and choose “Use existing hard disk” . Now click on the button (a folder icon) to browse to where you saved the OSGeo-Live vmdk-file. Select this file, press Next and Create.

** Config tips and tweaks**
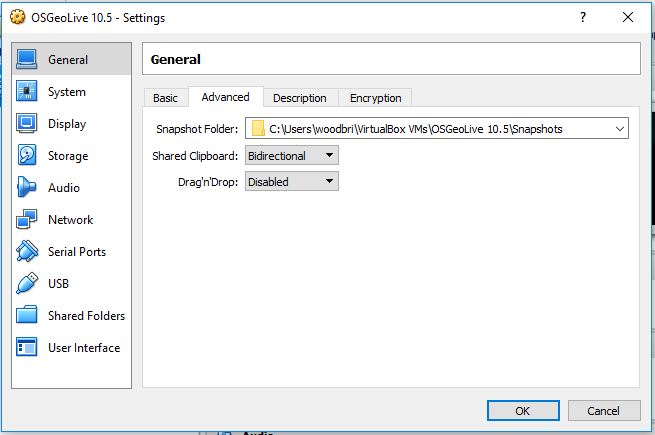
Once the VM is created, click on the Settings button. In the “General” section, go to the Advanced tab, and click to select “Show at top of screen” for the Mini toolbar.
Go to the “Display” section and increase video memory to 32 or 64 MB.

In addition, move to the “Shared Folders” section, and click the “Add folder” (green + icon on the right) to find a directory on your host computer that you wish to share inside the VM.
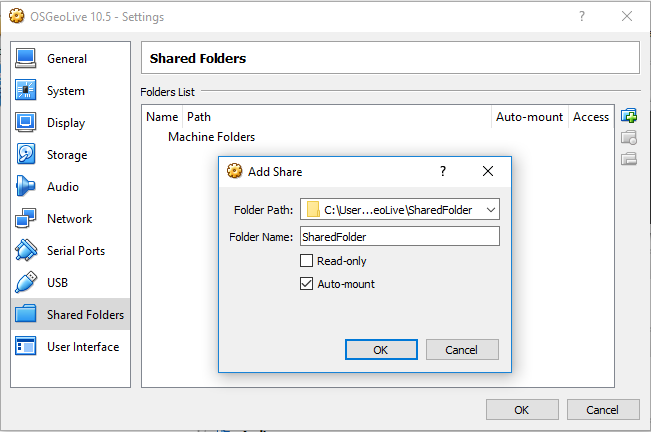
You can select to make the shared folder read only, and auto-mounted. Once the “Folder path” and “Folder name” are defined, click OK, and again OK to finish and close the settings window.
Running the Virtual Machine
Now bootup the VM by clicking the Start (green arrow) button.
Once the OSGeo system comes up, add yourself to the vboxsf group so that the shared folders (defined above) are accessible by running in a terminal window:
user@osgeolive:~$ sudo usermod -a -G vboxsf user
In the above example, we defined a Shared Folder path on the host system and named it “GIS” in the VM Settings. The shared folder will appear in the file system under /media/sf_GIS/. To mount this folder in the user’s home directory, for example, in a terminal do:
user@osgeolive:~$ mkdir GIS
user@osgeolive:~$ sudo mount -t vboxsf -o uid=user,rw GIS /home/user/GIS
Now files on your host machine in the chosen folder will also be available in the VM in the “GIS” folder in user’s home directory.