This Quick Start describes one way to run OSGeo-Live within a VirtualBox virtual machine. For other methods, follow links from the “See Also” section below.
- You can customize and update the system
- You can save your work within the VM
- You can install additional software
Most machines produced in the last 4-5 years will meet these requirements.
Downloads
Download Virtual Box for your platform, and install the software. On windows run the installer, or on Ubuntu-like linux systems do the following:
apt-get install virtualbox-ose
In addition download the OSGeo Virtual disk file (vmdk) from live.osgeo.org . Click on the “Download virtual machine” button. Then unzip the downloaded file (using 7zip ).
Create a Virtual Machine
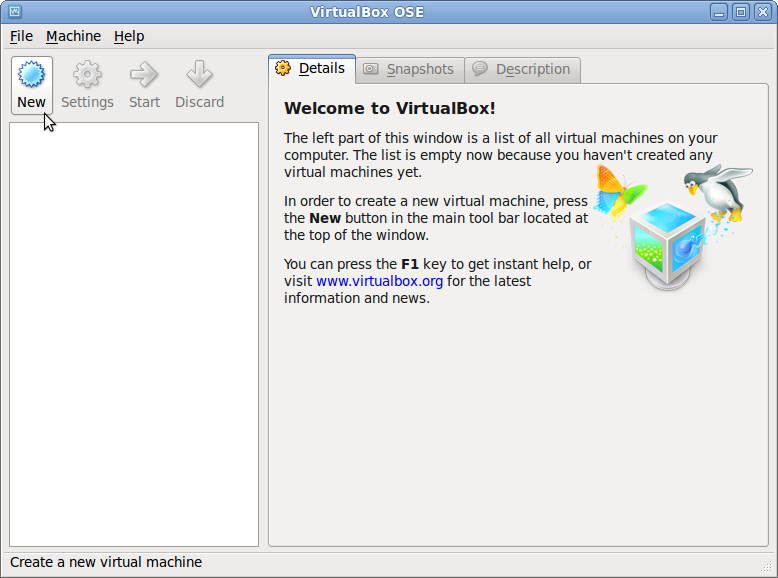
Start the VirtualBox application and click on the New button to create a new VM, and then Next.
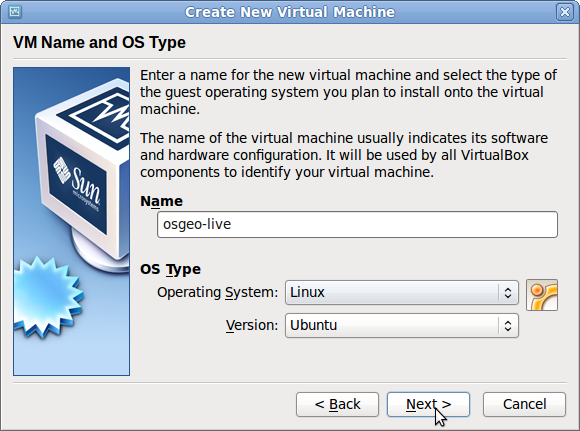
Enter a name such as OSGeo-Live, and choose Linux as the “Operating system”, and Ubuntu as the “Version”.
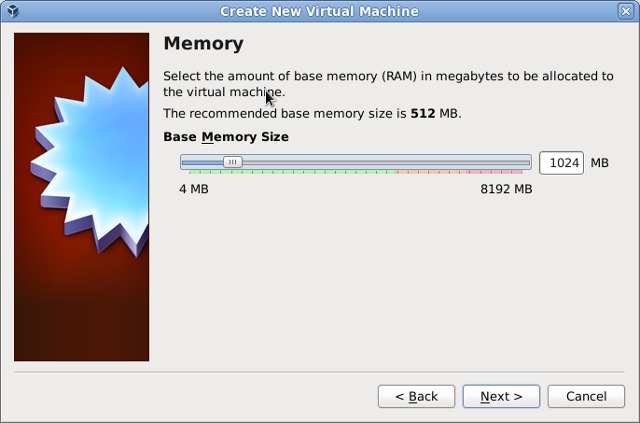
In the next screen set the memory to 1024 MB (or more if your host computer has more than 4GB).
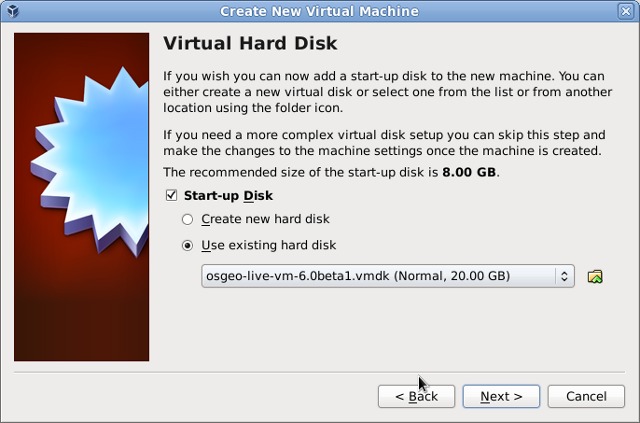
Continue to the next screen and choose “Use existing hard disk” . Now click on the button (a folder icon) to browse to where you saved the osgeo-live-vm-6.0.vmdk file. Select this file, press Next and Create.
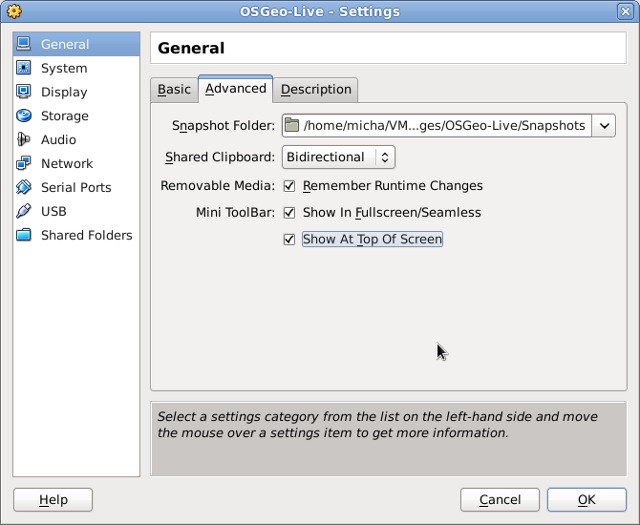
Once the VM is created, click on the Settings button. In the “General” section, go to the Advanced tab, and click to select “Show at top of screen” for the Mini toolbar.
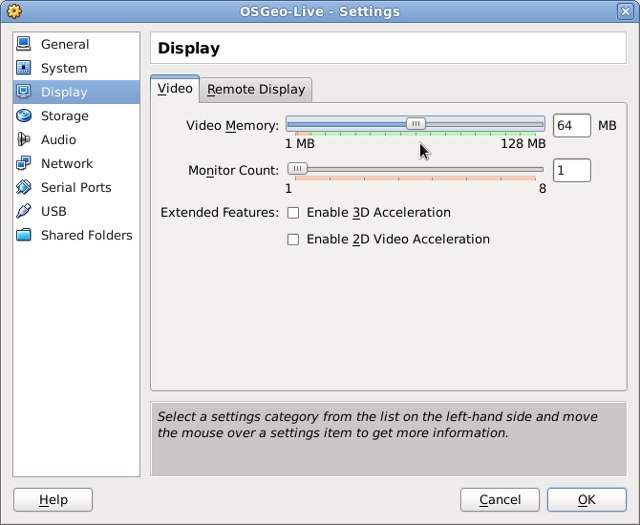
Go to the “Display” section and increase video memory to 32 or 64 MB.
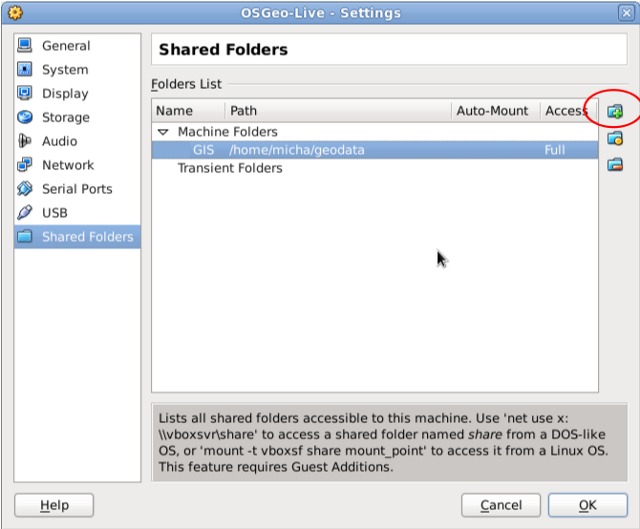
In addition, move to the “Shared Folders” section, and click the “Add folder” (green + icon on the right) to find a directory on your host computer that you wish to share inside the VM.
Once the “Folder path” and “Folder name” are defined, click OK, and again OK to finish and close the settings window.
Running the Virtual Machine
Now bootup the VM by clicking the Start (green arrow) button.
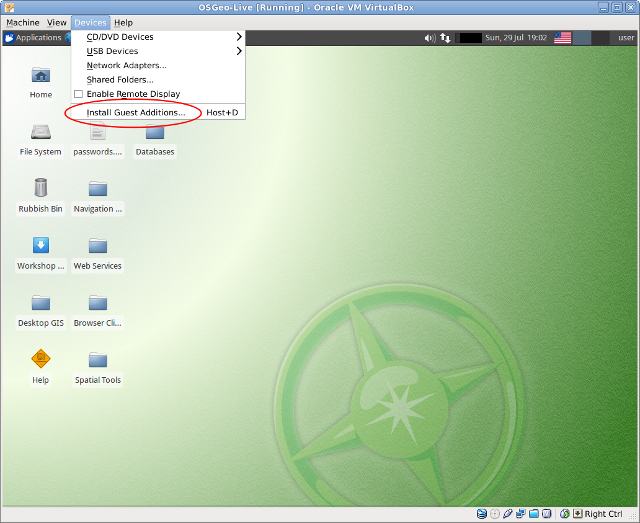
Once the OSGeo system comes up, you have the option to add the VirtualBox “Guest Additions” to improve video performance, and enable the shared folders option that was defined above. The guest addition installations are supplied as an ISO file togther with the VirtualBox application from Oracle, and are not licensed as Free and Open Source Software. This ISO is mounted within the VM as a CD, and the installation is run from there. Here’s how it’s done:
In the VirtualBox window, open the Devices menu and click Install Guest Additions. This will mount the Guest Additions as a CD drive in your OSGeo Live VM.
Once the CD folder appears, open a terminal and run the following commands:
user@osgeolive:~$ sudo apt-get install build-essential linux-headers-generic
user@osgeolive:~$ cd /media/VBOXADDITIONS_4.1.18_78361/
user@osgeolive:/media/VBOXADDITIONS_4.1.18_78361$ sudo ./VBoxLinuxAdditions.run
This will complete after a few moments. Reboot your VM, and you will now be able to run in full screen mode, and mount your shared folders. In the above example, we defined a Shared Folder path on the host system and named it “GIS” in the VM Settings. To mount it within the VM, open a terminal window and run:
user@osgeolive:~$ mkdir GIS
user@osgeolive:~$ sudo mount -t vboxsf -o uid=user,rw GIS /home/user/GIS
Now files on your host machine in the chosen folder will also be available in the VM in the “GIS” folder in user’s home directory.